The Layout
So off to my favoutite shop (The Green Shed) to purchase a 2.4m X 1.2m board. Serious model railroaders think this is a dumb size (too small). For a more serious layout visit these:
But first I designed a layout that would fit on the board and have some interest. The theme was a difficult decision as I didn't want it to be Australian or British. I wanted hills and forests and some farmland, a small town, a river and a mountain pass. Here is my first attempt:

The 10mm ply was covered with a 25mm sheet of polystyrene foam. I then added layers of 25mm foam to form contours that would be the start of the hills. When the these layers reached the maximum that the track would rise to I then shaped the foam as an initial step to allow the track to be laid.


Once the foam was in place and the ramps leading into the hills was cut and leveled it was then time to lay some cork rail bed and think about designing and bulding some bridges before laying track.


A trestle bridge and a truss bridge were scaled form original and scratch built by stripping down Meranti timber found in the workshop using a thicknesser and bandsaw. The timber was stained.


Now the tricky part. Laying track and wiring up power to the track and turnouts. This was something very new to me and therefore a steep learning curve. Thank heavens for Mr U-Tube. I spent many, many hours looking at how-to videos to get my head around it. Surprisingly it was very entertaining and informative. I must be a real nerd! Not only did I look at videos about track wiring but about virtually everything and anything to do with putting a model railroad together. I watched some videos many times to get the jist of it. Photos to come soon.
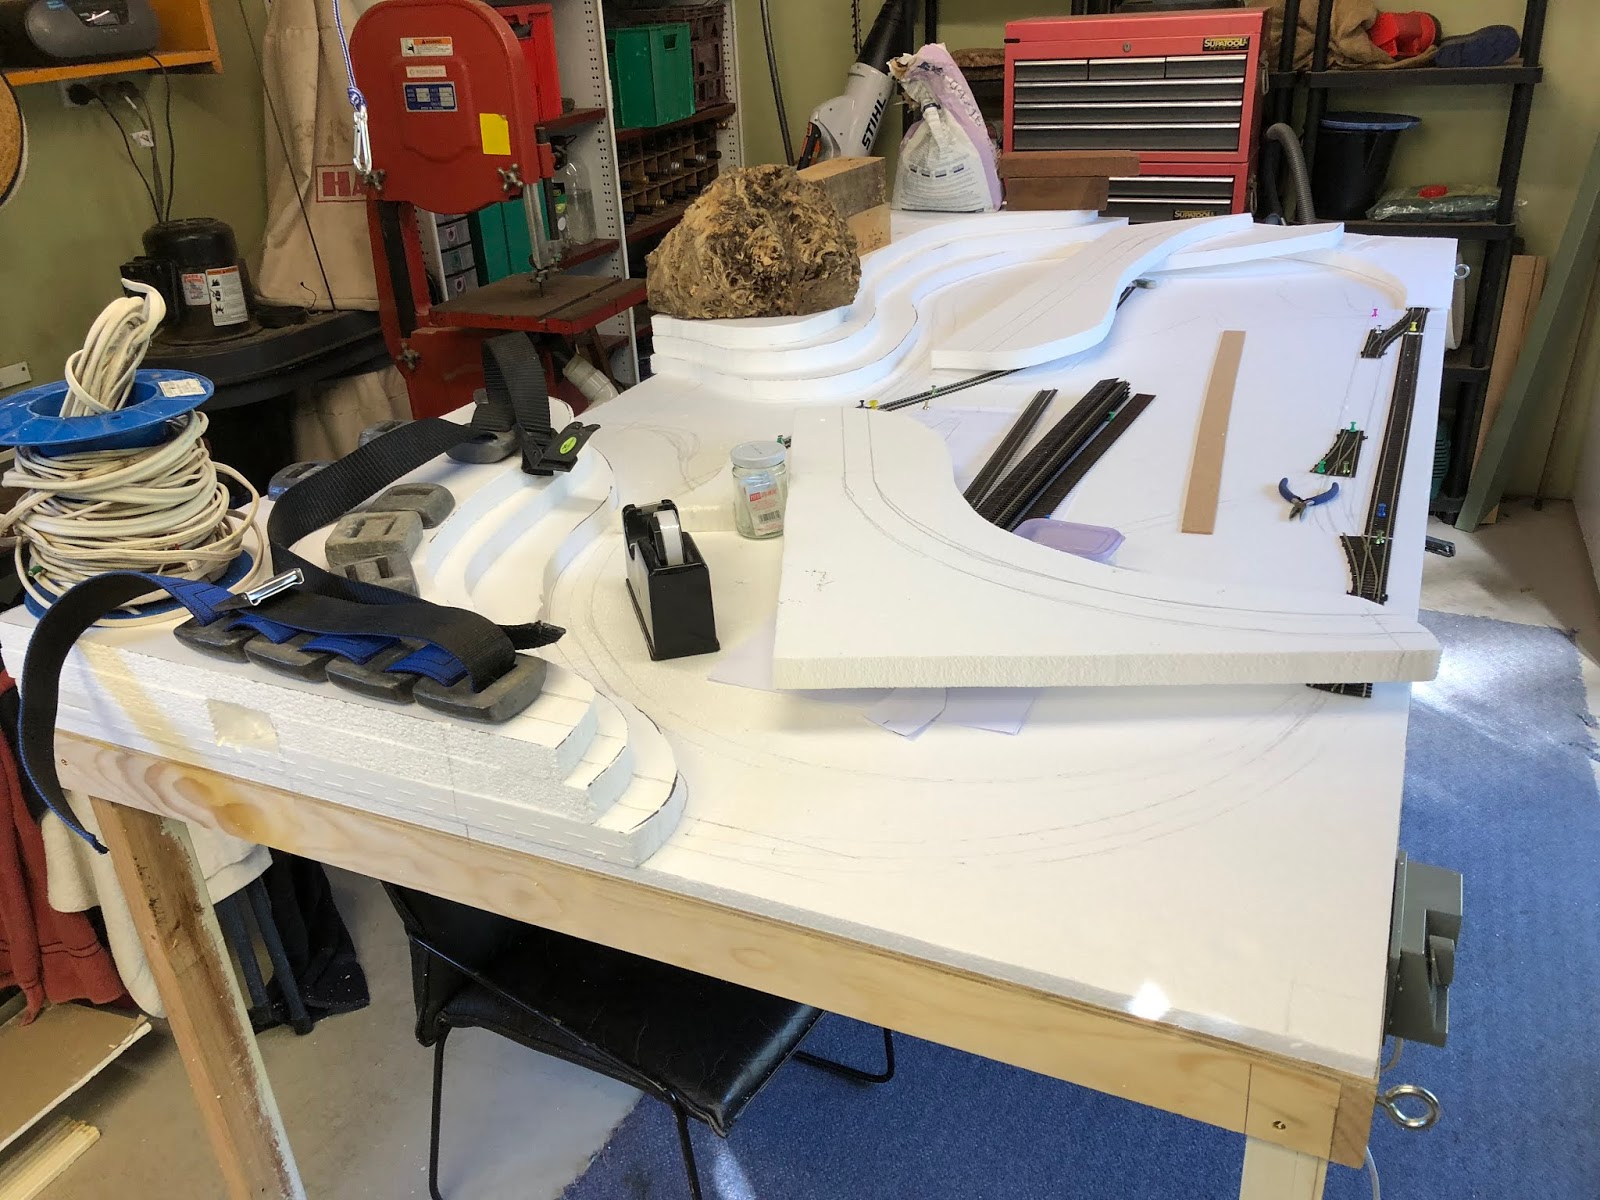
The latest pic of the layout with the track.

But first I designed a layout that would fit on the board and have some interest. The theme was a difficult decision as I didn't want it to be Australian or British. I wanted hills and forests and some farmland, a small town, a river and a mountain pass. Here is my first attempt:

The 10mm ply was covered with a 25mm sheet of polystyrene foam. I then added layers of 25mm foam to form contours that would be the start of the hills. When the these layers reached the maximum that the track would rise to I then shaped the foam as an initial step to allow the track to be laid.


Once the foam was in place and the ramps leading into the hills was cut and leveled it was then time to lay some cork rail bed and think about designing and bulding some bridges before laying track.


A trestle bridge and a truss bridge were scaled form original and scratch built by stripping down Meranti timber found in the workshop using a thicknesser and bandsaw. The timber was stained.


The latest pic of the layout with the track.

Comments